Planting Parsley, Sage, Rosemary & Thyme Seeds
Instructions for our Parsley Sage, Rosemary & Thyme Starter Kit In nature, some seeds require certain conditions in order to germinate. In order for the cold stratification of seeds to...
Mary Smith |
Welcome to our store Learn more
Instructions for our Parsley Sage, Rosemary & Thyme Starter Kit In nature, some seeds require certain conditions in order to germinate. In order for the cold stratification of seeds to...
Mary Smith |
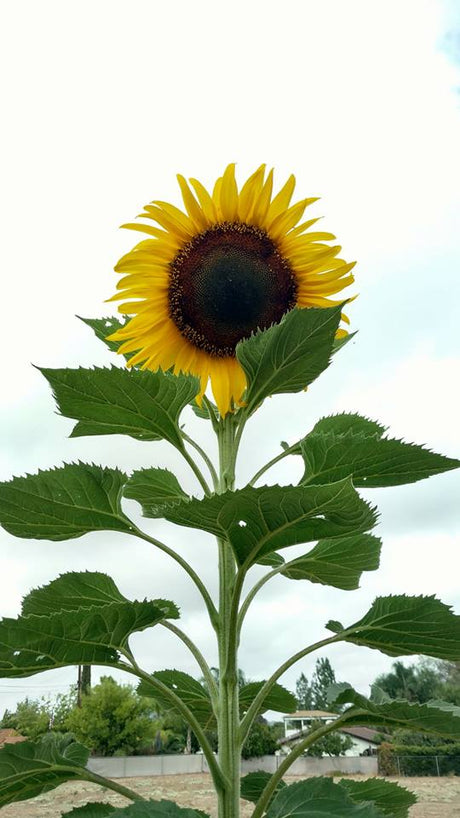
Sunflowers add so much color to the garden. They're so bright and beautiful, naturally attracting bird and beneficial pollinators. An annual plant, sunflowers have big, daisy-like flower faces of bright...
Mary Smith |

We hope you have enjoyed all of the "growing" and plant spacing articles so far. We are frugal people and I love a good DIY project in the garden that...
Mary Smith |

Mary's Heirloom Seeds Newsletter Give PEAS A Chance Seed Combo Packs FLORIDA MINI PACK FLORIDA GARDEN PACK Florida SUPER Combo Pack RAINBOW GARDEN Combo Pack Beginner Garden...
Mary Smith |

There are so many unique varieties of heirloom cabbage to grow in your garden. Pak Choy is one of our favorite varieties of Chinese cabbage. DWARF PAK CHOY CABBAGE ...
Mary Smith |
You've probably heard of a luffa sponge and you might have even used them. Did you know that a luffa sponge is actually a gourd? Luffa is one of our...
Mary Smith |

Mary's Heirloom Seeds Quick Links Echinacea Seed Starting SUPPLIESOrganic Plant Food Organic Pest Control 15 ORGANIC GIFTS IDEAS UNDER $20 Savoy Cabbage Heirloom BEANS Heirloom BEETS Heirloom CABBAGE...
Mary Smith |

Mary's Heirloom Seeds Newsletter JULY Seed Planting Guide for the US by Region NEW ARRIVALS ADDED TODAY! KABOCHA SQUASH Also know as Naguri Squash. A winter squash variety. Portuguese sailors...
Mary Smith |

As a homesteader, we are always looking for old varieties of heirloom seeds to feed our family and animals. I find that heirloom varieties have withstood the test of time...
Mary Smith |
Before we get started with our MAY Planting Guide, we have a few specials to announce. Genovese Basil and Sage will be on Sale thru May 10th Mary's Heirloom...
Mary Smith |

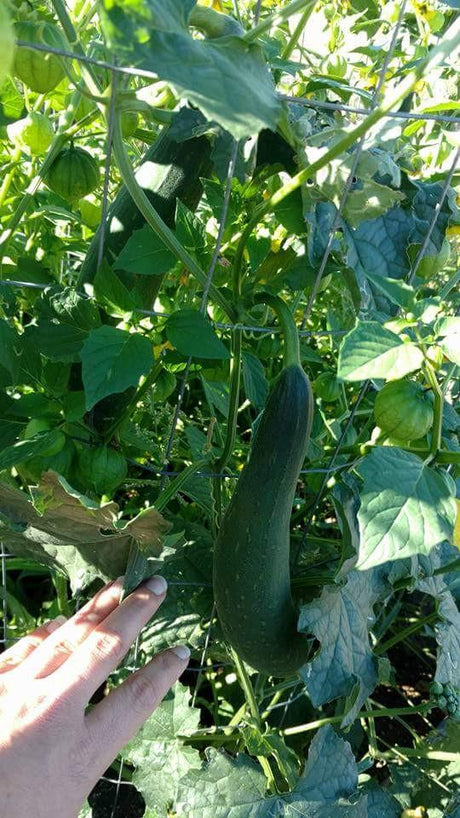
If you search the web, you'll find that many gardeners agree on the top easy veggies to grow. We all have our challenges and our favorites. Last year, my best...
Mary Smith |


Are you ready for another in-depth seed planting guide for the US? At Mary's Heirloom Seeds it is our goal to help you grow the healthiest, most productive garden from...
Mary Smith |

SEED SALE EXTENDED...AND MORE! Mary's Heirloom Seeds Quick Links COCONUT COIR PELLETS GARDENS FUNDRAISER Seed Starting SUPPLIES Organic Plant Food Organic Pest Control Heirloom BEANS Heirloom BEETS Heirloom CABBAGE...
Mary Smith |