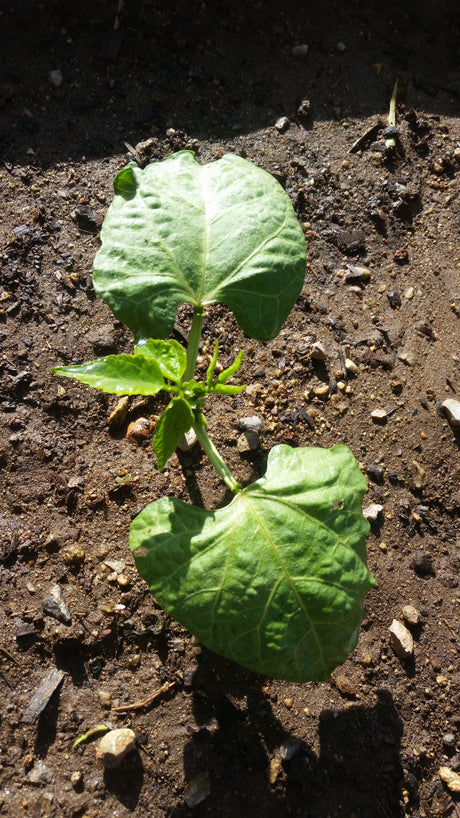
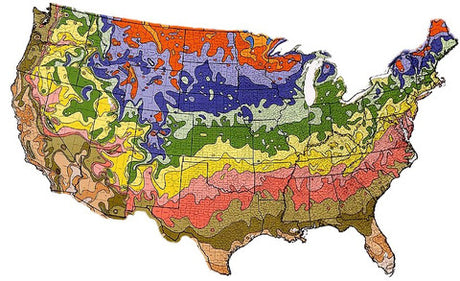
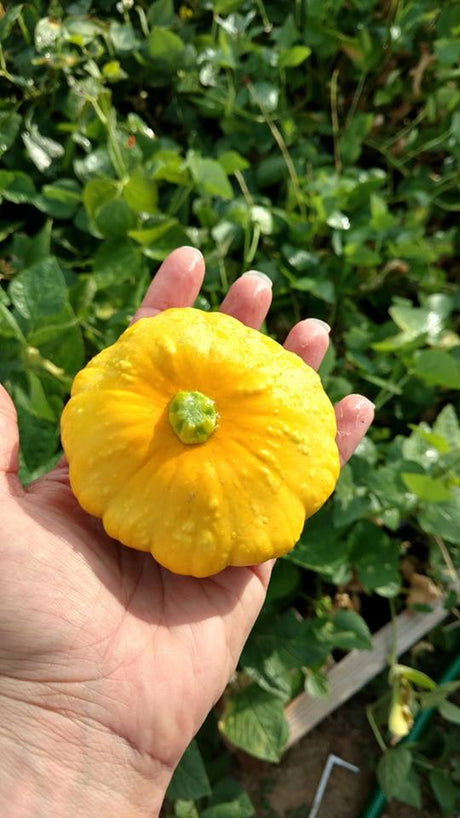
Day 17: Still Time to Plant Summer Squash Posted on 3 Jun 12:05 , 1 comment
|
|
KALE in the garden |
The black spot will spread, eventually rotting the entire tomato |
Oyster Shell flour |
All spiders feed on insects and are very important in preventing pest outbreaks. The spiders normally found in gardens do not move indoors, nor are they poisonous. Permanent perennial plantings and straw mulches will provide shelter and dramatically increase spider populations in vegetable gardens.
BUTTERFLY CATERPILLARS!
A great source for identification is Gardens With Wings
Monarch
American Painted Lady
Black Swallowtail
Thank you for joining us for another day of Grow Your Own Food in 100 Days or Less. If you have additional questions please send an email to mary@marysheirloomseeds.com
Happy Planting!
Sometimes it's fun talking about poop. Seriously, just saying Poop makes some people laugh. Thank you for joining us for day 14 of our series Grow Your Own Food in 100 days or Less.
As a homesteader or farmer, it's important to plan ahead for poop management and storage if you plan to have animals. We currently have chickens and one of our neighbors has horses so we have plenty of manure to work with.
Here's our Day 14 Video
To simplify for this post, different manures are either "hot" or "cold." Hot manures should be composted or aged prior to using in your garden or they can burn you plants. Cold manures can be tilled directly in your garden.
Cold manures include Rabbit and Goat poop. Hot Manures include Chicken and pig. Right in the middle are horse, sheep and cow. Bunny poop is garden gold so if you raise rabbits or you know someone who raises rabbit, this would be a very inexpensive way to add nutrients to your soil right away.
We've already posted 2 different videos on manure.
The first was one
And the second one is
We mentioned in our first video not to splash your plants. This is an important precaution to take. ALL of the manure we use has been composted or aged. We also add layers of manure then soil to our beds so the manure does not touch our plants. Splashing manure water on leaves can burn them but can also spread bacteria and we definitely don't want that.
Using manure in your garden is not a necessity. There are plenty of non-animal alternatives to feed your plants and boost soil health. This part of our series is important as it shoes that there are ways to feed your plants using "free" options that might otherwise be thrown away.
However you choose to feed your plants and build your soil, we've shown that there are quite a few options.
Thank you for joining us for another day of Grow Your Own Food in 100 Days or Less. If you have additional questions please send an email to mary@marysheirloomseeds.com
Happy Planting!
Have you enjoyed our series Grow Your Own Food in 100 Days or Less? Today we're going to talk about "bad bugs" that can infect your garden.
Arugula, Beans, Beets, Calabrese Broccoli, Cabbage, Carrots, Corn, Endive, Lettuce, Kale, Melon, Mustard, Okra, Peas, Peppers, Radish, Scallions, Sorrel, Spinach, Summer Squash, Swiss Chard and Tomatoes
Unfortunately, We were not able to post yesterday so today we're sharing our Coconut Coir info for day 10 & 11. Thank you for joining us for another post in our series, Grow Your Own Food in 100 days or less with Mary's Heirloom Seeds
We've mentioned a few times about using coconut coir in the garden so today we;re sharing about the WHY and the HOW. Here's our video we posted yesterday
We use Coconut Coir Pellets sometimes when we start seeds.
We use Coconut Coir Bricks when we plant in containers or seed-starter pots.
From Using Coconut Coir in the Garden
"Coconut coir growing medium comes from the coconut's fibrous husk (known as coir) that is bound together by lignin (known as pith). After the husk is immersed in water for 6 weeks, the fiber is extracted mechanically, and the pith is left behind as a waste product and stored in heaps to age. Since the pith comes from the fruit, it is quite naturally rich in nutrients. Coconut coir growing mediums are dehydrated and compressed into a compact form for easy handling. With the addition of water, coir expands to an easy to work with growing medium.
The addition of water increases the volume 3 to 9 times, depending on the packaging of products. This process results in a 100% organic, biodegradable growing medium, making it a natural and safe growth medium of choice for growers.
1.5 pounds compressed brick
Add water to increase volume 3 to 9 times!" Use Coconut Coir in compost or worm bins About Coconut Coir
-Coir improves soil drainage in the bed while also helping to retain moisture in quick-draining soils. Since coir breaks down slowly, much like peat, it creates air pockets in the soil that allow excess moisture to drain away from plant roots. The coir itself holds onto some moisture so the drainage doesn't occur too quickly and the soil doesn't dry out completely. These dual drainage and retention properties allow coir to improve moisture management in both heavy clay soils and dry, sandy beds.
From Seed Starting With Coconut Coir
Common Seed-Starting Issues
GERMINATION
-Incorrect Temperature. Different seeds have different needs.
-Old Seeds. When properly stored seeds can have a very long shelf life. But the older they get, your germination rate will begin to reduce
-Incorrect Watering. Water in a necessity for all plants. In the germination stage you need to make sure you keep the soil evenly moist. If you water too much, you run the risk of your seeds rotting before they germinate. If you let them dry out, they will either never germinate or die trying!
-Planting Depth/Light. When you plant your seeds pay attention to your planting depth. This is important because if planted too deep you plants could run out of energy before reaching sunlight. Planting too shallow can lead to drying out. Some seeds actually need some light to germinate, so instead of digging them down you just press them into your soil.
MOLD or ROTTING
Dampening off, is probably the most common disease when starting seeds. It’s a fungus that can attack the seeds as soon as they germinate or after the seedling has emerged. You will know this is what killed your seedlings when you notice dark spots on the stem right at the soil level and the seedling topples over and withers away.
-Don't over water
-Provide air movement. A small fan will work
-Nutrients: Use a half-strength, organic fertilizer with tiny seedling. Our DIY Kelp Meal Tea is a great option for tiny seedling. You can use this as a foliar feed as well.
OVERCROWDING
For coconut coir pellets, plant no more than 2 seeds per pellet for small seeds and only one per pellet for larger seeds. If both seeds germinate, do not pull one out.
Pinch off one of the seedlings at the base to remove. This will give the remaining seedling a chance to survive and thrive.
Once your seedlings are strong and roots start to grow out of the mesh, it's time to transplant them into the garden or into your containers.
We're so excited to be Transplanting Seedlings today into our garden.
Thank you for joining us for Day 8 of our series Grow Your Own Food in 100 Days or Less at Mary's Heirloom Seeds.
Today we have a 4x8 raised bed that has already been filled with aged manure and soil. We're transplanting Dakota Black Popcorn, Blue Lake Bush Beans and Yellow Scallop Squash. **Once we finished filming we also planted Genovese basil**
Here's our video to get started
Transplanting Seedlings
Since our seedlings were grown outside 100% of the time, we did not need to harden off before transplanting. If you are transplanting seedlings that were grown indoors, I recommend starting with our article Day 7 Hardening Off Seedlings
First, whether you're planting in-ground, in containers or raised beds,water the garden area BEFORE you transplant seedlings. I like to give it a good soaking.
Plan out what seedlings you want to transplant and where they're going.
When we transplant I use 2 soil amendments, Mountain Flower Root Boost (5-4-2) and Micronized Azomite. Another option would be to feed and Organic Liquid fertilizer or Kelp Tea. We do this to cut down on shock to the plants.
For this, I used approximately 1 tablespoon Mountain Flower Root Boost and 2 tablespoons Azomite in each hole before transplanting. Prior to transplanting I did not add fertilizer to the bed. You'll need to adjust your own garden accordingly
Gently squeeze the bottom of the cup/container to loosen soil and roots.
Do not pull on the stem to remove the seedling from the container. I prefer to tip over in my hand and loosen the seedling from the base of the container
If you are transplanting seedlings in Coconut Coir Pellets, do not remove the outer mesh. Transplant the entire pellet into the soil and cover completely.
Once you've placed the seedling in the hole, gently cover with soil and water very well.
If you're growing seedlings indoors, they might have been pampered all winter/spring. Aside from the random cat attack or possibly too much watering, they have been relatively safe compared to the dangers that await them in the great outdoors.