Pest Control & Prevention in the Garden
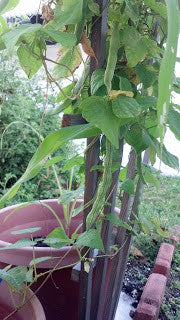
We asked our customers what issues they face in the garden and the top responses were Weeds and Bugs. Today we're going to tackle the Bugs & Pests issue. I...
Mary Smith |
Welcome to our store Learn more
We asked our customers what issues they face in the garden and the top responses were Weeds and Bugs. Today we're going to tackle the Bugs & Pests issue. I...
Mary Smith |
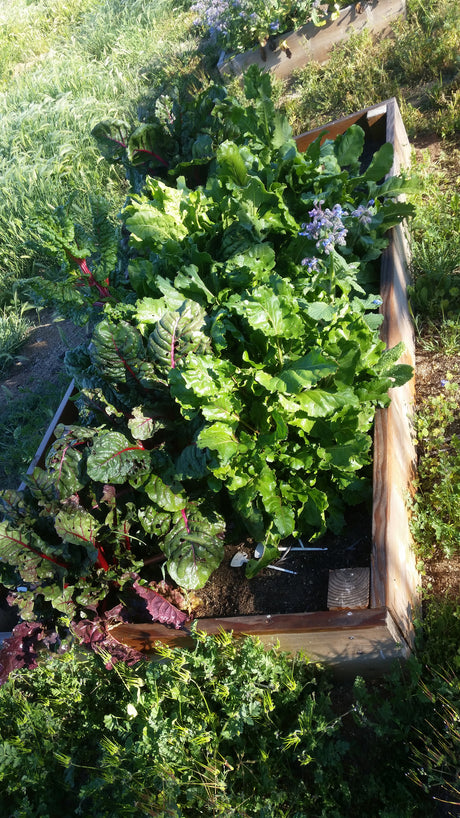
We asked our customers what issues they face in the garden and the top responses were Weeds and Bugs. Today we're going to tackle the Weeds issue. Raised Beds Because...
Mary Smith |

The latest from Mary's Heirloom Seeds! *UPDATED from 2015* NEW Heirloom Cabbage varieties for 2017! Mary's Heirloom Seeds Quick Links Seed Starting SUPPLIESOrganic Plant Food Organic Pest Control Heirloom...
Mary Smith |

Depending on where you live, many of you are planting FALL Crops. This is a great way to extend your growing season and save money! If you have never planted...
Mary Smith |

Depending on where you live, many of you are planting FALL Crops. This is a great way to extend your growing season and save money! If you have never planted...
Mary Smith |

Fall is a prime time for planting the hardiest herbs that actually grow very well in areas with mild winters. You can put an assortment of your favorite cool-weather-loving fall...
Mary Smith |

As promised, we are continuing to share our month-to-month, regions specific Planting Guide from Mary's Heirloom Seeds! Can you believe it's almost September? It's still super hot and we're already...
Mary Smith |

Pumpkins are a warm-season vegetable that can be grown throughout much of the United States. They require a fairly long period (3 - 4 months) of hot weather and can...
Mary Smith |

*UPDATED 1/24/17*Broccoli is a cool weather crop that generally thrives in cooler temperatures that do not exceed 30°C (86°F). The ideal temperature for cultivating broccoli is between 65 - 75°F....
Mary Smith |

Have you ever added Oyster Shell Fertilizer to your soil? Wondering WHY we add calcium? Well here ya go! Calcium is a component of plant cell walls, and it’s needed...
Mary Smith |

August 2016 Are you ready for FALL??? From Fall Planning & Planting Part 1 CROP ROTATION This is a very critical part of any garden plan. To avoid diseases...
Mary Smith |

FALL is fast approaching! Some of you are thinking about your favorite fall crops. Those of you in warmer climates like South Florida are gearing up for big-time planting season....
Mary Smith |

Have you ever considered the "medicine" available to you, grown in your own backyard (or farm). From Basil to Coneflower and even Thyme, there are so many reported health benefits...
Mary Smith |