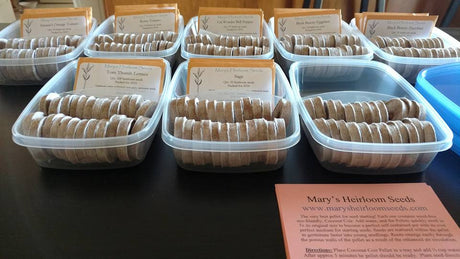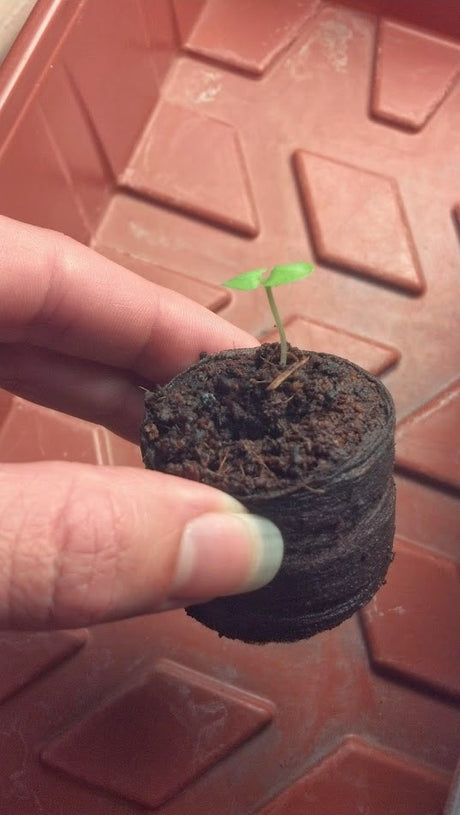
Seed Germination Length of Time
We are working on adding more helpful, seed specific articles to our planting guides. Different seeds sometimes require different environments for optimal germination. For germination techniques, check out The Wonder...
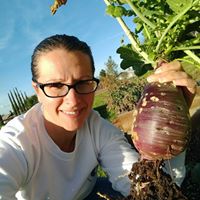
Mary Smith |