Planting Parsley, Sage, Rosemary & Thyme Seeds
Instructions for our Parsley Sage, Rosemary & Thyme Starter Kit In nature, some seeds require certain conditions in order to germinate. In order for the cold stratification of seeds to...
Mary Smith |
Welcome to our store Learn more
Instructions for our Parsley Sage, Rosemary & Thyme Starter Kit In nature, some seeds require certain conditions in order to germinate. In order for the cold stratification of seeds to...
Mary Smith |

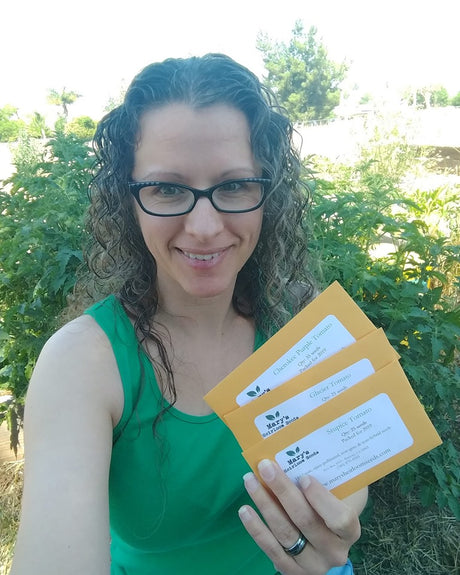
We've added a few new arrivals for 2020 Purple Orach is a new one and it's such an exciting variety!!! Atriplex hortensis 45 days from seed Also known...
Mary Smith |
Garden Gifts are my favorite! Audrey Hepburn said, "To plant a Garden is to Believe in Tomorrow." Sharing the gift of gardening is amazing! (that's my own quote) At Mary's...
Mary Smith |

We offer several articles with our own tips & tricks to seed starting but this one is a bit more in-depth. We start planning and prepping for seed starting when...
Mary Smith |
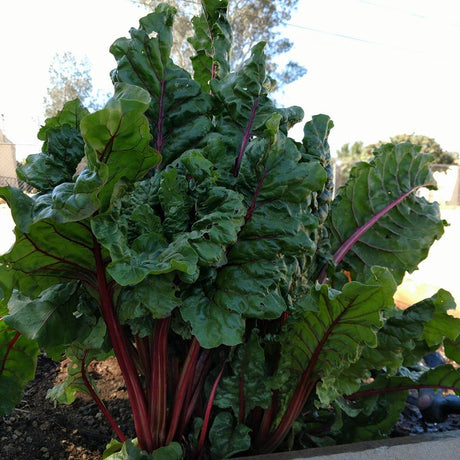
I'm updating our "greens" growing tutorials to include a bit more info. I've written quite a few articles about food prices and growing your own food. First, I wrote Food...
Mary Smith |
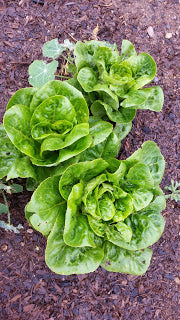
I've written quite a few articles about food prices and growing your own food. First, I wrote Food Prices are on the Rise , then I wrote In Times of...
Mary Smith |

Tomatillo is an often overlooked heirloom variety. Native to Mexico and domesticated by the Aztecs around 800 B.C., the tomatillo is one of our most ancient food bearing plants. Growing...
Mary Smith |
This is a follow up to our previous post Mary's Heirloom Seeds Quick Links 99 CENT SEED PACK SALE FREE SHIPPING on Garden Necklaces through JUNE 20th...
Mary Smith |

JUNE is time to plant PUMPKIN in time for OCTOBER - NOVEMBER If you're looking to plant this month and SAVE on seeds, check out our 99 Cent Seed Pack...
Mary Smith |
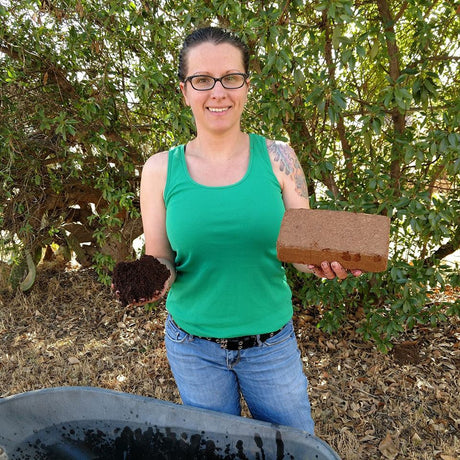
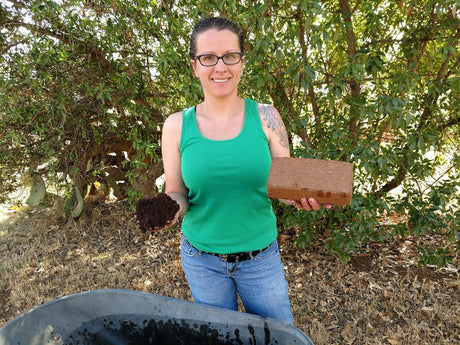
Unfortunately, We were not able to post yesterday so today we're sharing our Coconut Coir info for day 10 & 11. Thank you for joining us for another post in...
Mary Smith |

Welcome to another day of our series Grow Your own Food in 100 Days or Less at Mary's Heirloom Seeds. On DAY 5 we discussed basic Nutrient Requirements for veggie...
Mary Smith |

We're so excited to be Transplanting Seedlings today into our garden. Thank you for joining us for Day 8 of our series Grow Your Own Food in 100 Days or...
Mary Smith |

Welcome to Day 7 of our series Grow Your Own Food in 100 days or Less at Mary's Heirloom Seeds! These are the extra Heirloom Corn seedlings that didn't make...
Mary Smith |

Welcome to Day 5 of our series Grow Your Own Food in 100 Days or Less. WE HAVE GERMINATION! Actually, we had germination of the Early Scarlet Globe radish on...
Mary Smith |