Planting Parsley, Sage, Rosemary & Thyme Seeds
Instructions for our Parsley Sage, Rosemary & Thyme Starter Kit In nature, some seeds require certain conditions in order to germinate. In order for the cold stratification of seeds to...
Mary Smith |
Welcome to our store Learn more
Instructions for our Parsley Sage, Rosemary & Thyme Starter Kit In nature, some seeds require certain conditions in order to germinate. In order for the cold stratification of seeds to...
Mary Smith |
One of the best things about wildflowers is how easy they are to grow! In case you missed it, we recently posted an article of EDIBLE FLOWERS at Mary's Heirloom...
Mary Smith |

Collards are a southern favorite and absolutely delicious. Bonus, they are pretty easy to grow and can produce massive yields. What are Collard Greens? Collard is a group of certain...
Mary Smith |
Summer squash is very popular for home gardeners. If you've never heard of Tatume Squash you are in for a treat! "Tatume is a summer squash popular in Mexico...
Mary Smith |
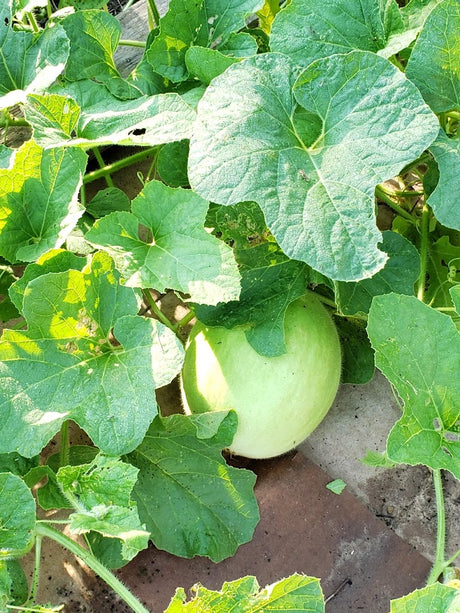
Heirloom Melons are a summer favorite and with a little planning, you can grow your own delicious melons from seeds. HEIRLOOM MELON SEEDS From seed to harvest, melons...
Mary Smith |
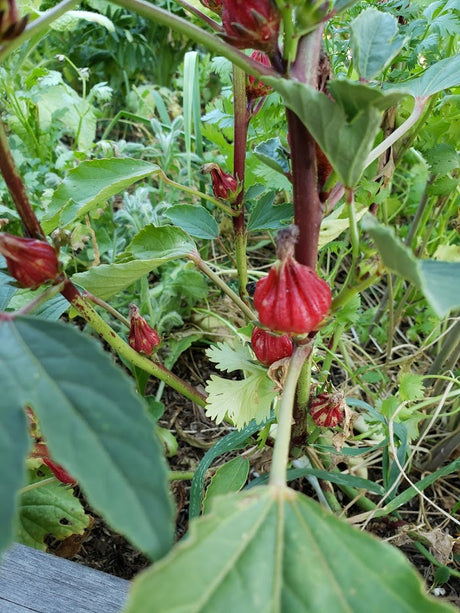
Thai Roselle is pretty easy to grow. It makes a beautiful, delicious tea and can be harvested then dried to enjoy year round. What is Thai Roselle? Also called Jamaican...
Mary Smith |
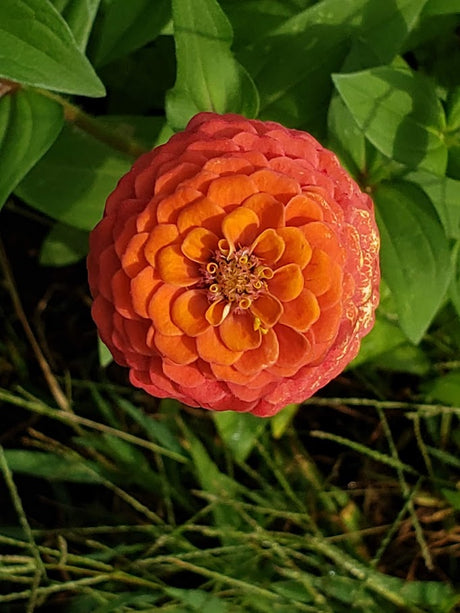
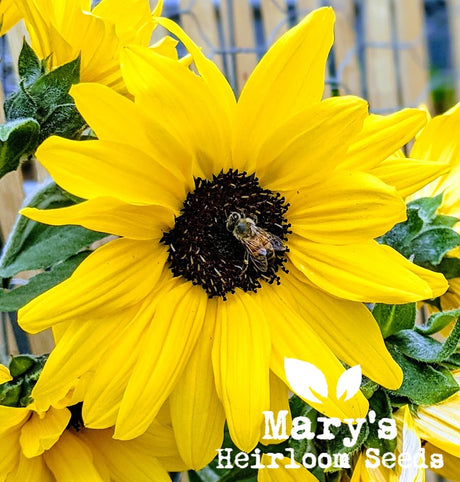
These beauties are a favorite in our Pollinator Gardens. Zinnia flowers are an annual, so they’ll grow for one season and produce seeds, but the original plant will not come...
Mary Smith |

January is Plant for Pollinators month at Mary's Heirloom Seeds so this how-to article is just in time! Borage (Borago officinalis) is an amazing plant to grow in your garden...
Mary Smith |

In our article The Wonder of Seeds and Germination we discussed the different environmental needs of some seeds. In this article, we will share a more in depth look at...
Mary Smith |
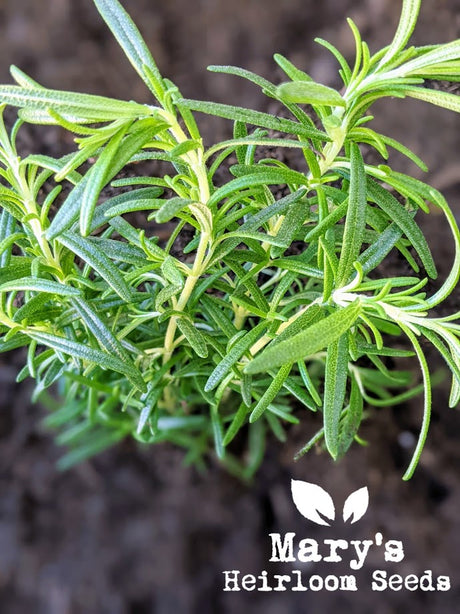
Rosemary is one of my favorite culinary herbs. Growing Rosemary from seed can be a bit tricky but it's definitely a worthwhile endeavor. Rosemary (Rosmarinus officinalis) is a perennial...
Mary Smith |

In case you're wondering about the benefits of starting your own herbs from seeds, this might help you decide. Sure, you can go to the local nursery and pick out...
Mary Smith |
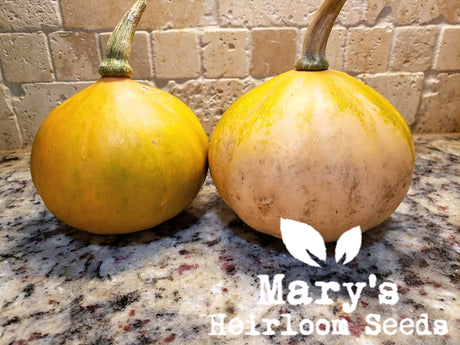
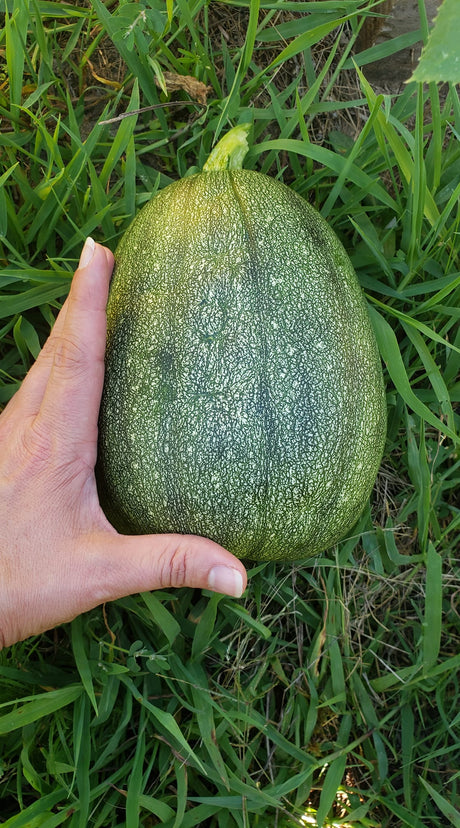
Seminole Pumpkins are a Florida native variety grown by Native American tribes for hundreds of years. The shapes and sizes can vary. Some look like a traditional pumpkin, others can...
Mary Smith |
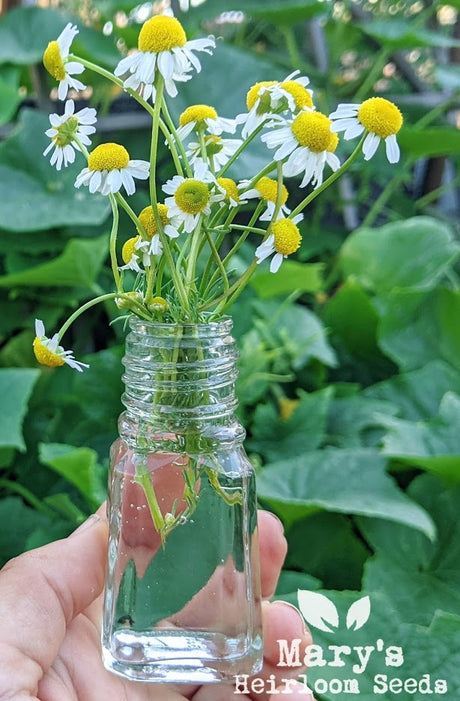
Did you know that there are 2 types of Chamomile? The first is Roman chamomile (Chamaemelum nobile) and the other is German chamomile (Matricaria recutita). At Mary's Heirloom Seeds, we...
Mary Smith |