Lavender Infused Oil Recipe
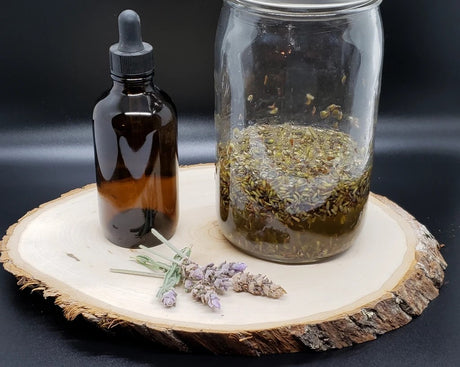
The scent of lavender is delicate and calming. This is another once of my favorite herbs. It may be somewhat difficult to grow but this Lavender infused Oil recipe is...
Mary Smith |
Welcome to our store Learn more
The scent of lavender is delicate and calming. This is another once of my favorite herbs. It may be somewhat difficult to grow but this Lavender infused Oil recipe is...
Mary Smith |

I've shared previous "best of" articles from Mary's Heirloom Seeds such as Mary's Top 10 with Companions and Heat Tolerant Veggies. But how about homesteaders? Some of you, myself...
Mary Smith |