Next up in our Seed Saving series is Heirloom Squash. In case you missed it, you might want to start with Seed Saving Basics to help you get started.
At the end of this tutorial is a video on Seed Storage that will come in handy.

Seed saving is fun and definitely a useful tool.
Before you start saving seeds from squash it is important to understand pollination and cross pollination.
Squash plants are Monoecious, meaning they produce both male and female flowers on the same plant. The flowers are found in the axils of the leaves. The flowers can be easily distinguished from each other as the female flowers have an ovary at their base that looks like a small, immature fruit. In order for fruit set to occur, pollen from the male flower must be transferred to the female flower.

Squash plants of the same species can cross pollinate. That means that if you plant Black Beauty Zucchini and Patty Pan squash (both Cucurbita pepo) close together then they can cross pollinate. But a Golden crookneck Squash (Cucurbita pepo) won't cross with a Butternut Squash (Cucurbita moschata).
When crosses occur between members of the same species, we do not see the effect of the cross the first year. However, if the seeds are saved and planted, the plants will produce fruit that will be different from either of the parents.
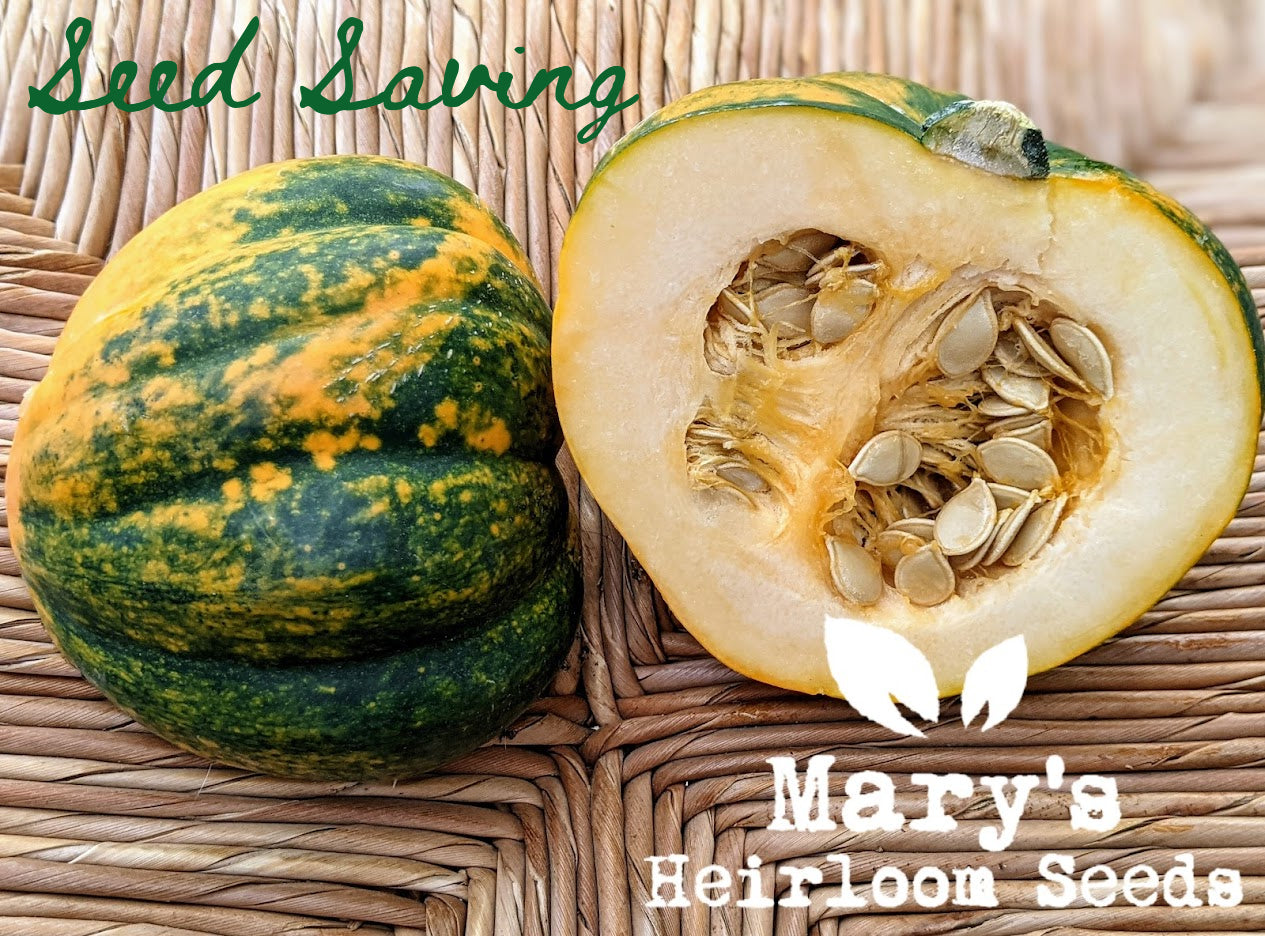
Ready to start saving seeds?


SEED STORAGE is just as important as seed saving. More important even. It would be frustrating to go through all steps to properly harvest your seeds only to have them fail or have lower germination rates because they were not stored properly.
Avoid storing your seeds in open containers were bugs and critters can get to them. Don't store your seeds in hot spots like an outside shed or garage as heat can degrade seed viability.
As promised, here's a live chat video about seed storage.
Stay tuned for more specific seed saving techniques and seed varieties. -Mary