
2017
It's that time to start thinking about GARLIC. This is our third year of offering several varieties of Garlic Seed at Mary's Heirloom Seeds. The first 2 years we sold out within 2 months so we're increasing our supply this year!
Fall is the time to plant for best yields and highest quality bulbs. Generally plant in September–January. In very cold areas, plant by mid-October, and protect your crop with a thick layer of mulch such as straw. Expect to harvest it in June–July. One lb of garlic seed equals approx. a 25' row with 4" spacing between plants. For most garlic varieties, expect an optimum 10 lb yield for each pound planted.
First, let's talk terminology
Below is a single CLOVE of garlic.
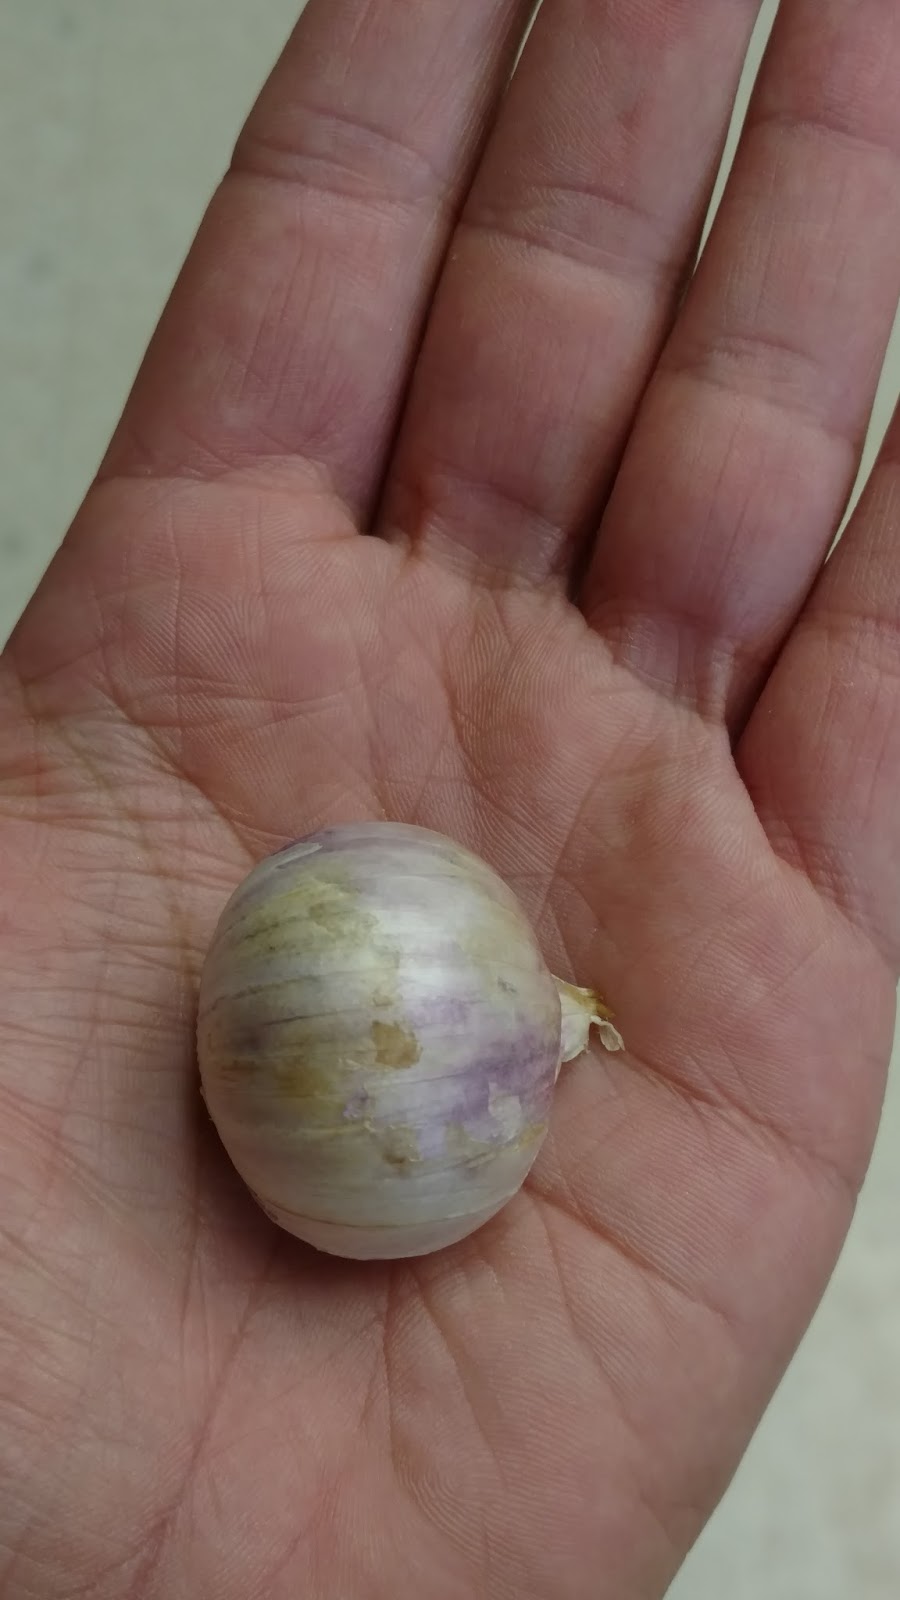
If you break up a head of garlic, you get lots of smaller cloves
Below is a BULB of garlic and is often referred to as a head of garlic.
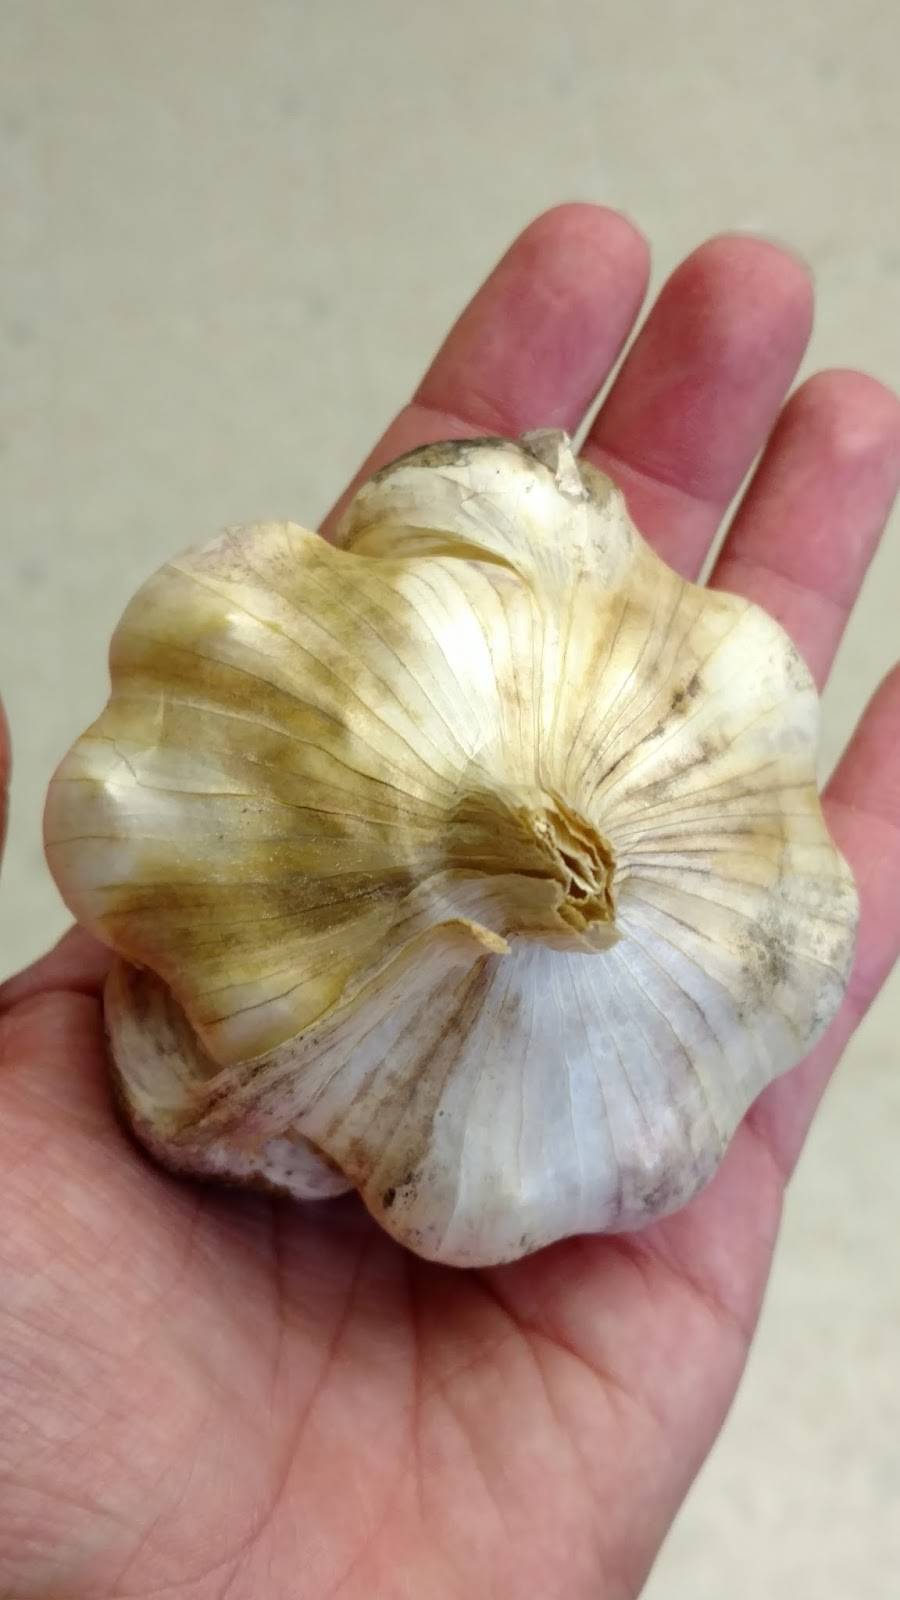
From a customer, "In Spanish, a clove is called a diente (tooth), and the head is called cabeza (head)!"
HARDNECK
Rocambole garlic has wrappers that are typically reddish in color, such as Killarney Red. However, color is not the only requirement for this category, as some varieties may be white or purple colored. Rocambole scapes are more tightly curled than other varieties. Most rocambole varieties produce 8 to 10 cloves per head.
SOFTNECK
Softneck garlic, also called artichoke garlic due to their numerous cloves that give them an appearance similar to the “petals” of an artichoke head, is the most common garlic due to its excellent storage characteristics. This is the kind you will find in grocery stores.
Softnecks are the most heat tolerant of garlic, and have a sweeter, milder flavor than hardnecks. If you’re looking to make garlic braids, this is the type to grow.
JUST A TIP: Soak garlic cloves in Organic Kelp Meal and water for 2 hours before planting.
We offer Organic Kelp Meal at Mary's Heirloom Seeds to make your own Kelp Tea!
From The Old Farmer's Almanac,
Planting
- Garlic can be planted in the spring as soon as the ground can be worked, but fall planting is recommended for most gardeners. Plant in the fall and you'll find that your bulbs are bigger and more flavorful when you harvest the next summer.
- In areas that get a hard frost, plant garlic 6 to 8 weeks before that frost. In southern areas, February or March is a better time to plant.
- Break apart cloves from bulb a few days before planting, but keep the papery husk on each individual clove.
- Plant cloves about one month before the ground freezes.
- Do not plant cloves from the grocery store. They may be unsuited varieties for your area, and most are treated to make their shelf life longer, making them harder to grow. Instead, get cloves from a mail order seed company or a local nursery.
- Ensure soil is well-drained with plenty of organic matter. Select a sunny spot.
- Place cloves 4 inches apart and 2 inches deep, in their upright position (the wide root side facing down and pointed end facing up).
- In the spring, as warmer temperatures come, shoots will emerge through the ground.
Care
- Northern gardeners should mulch heavily with straw for overwintering.
- Mulch should be removed in the spring after the threat of frost has passed. (Young shoots can't survive in temps below 20°F on their own. Keep them under cover.)
- Cut off any flower shoots that emerge in spring. These may decrease bulb size.
- Weeds should not be a problem until the spring. Weed as needed.
- Garlic requires adequate levels of nitrogen. Fertilize accordingly, especially if you see yellowing leaves.
- Water every 3 to 5 days during bulbing (mid-May through June).
- A note on garlic scapes: Some folks love cooking the scapes (the tops of hardneck garlic). Whether you trim the scapes or let them keep growing is your preference. We like to stir fry scapes the way we cook green beans—similar with a spicy kick!
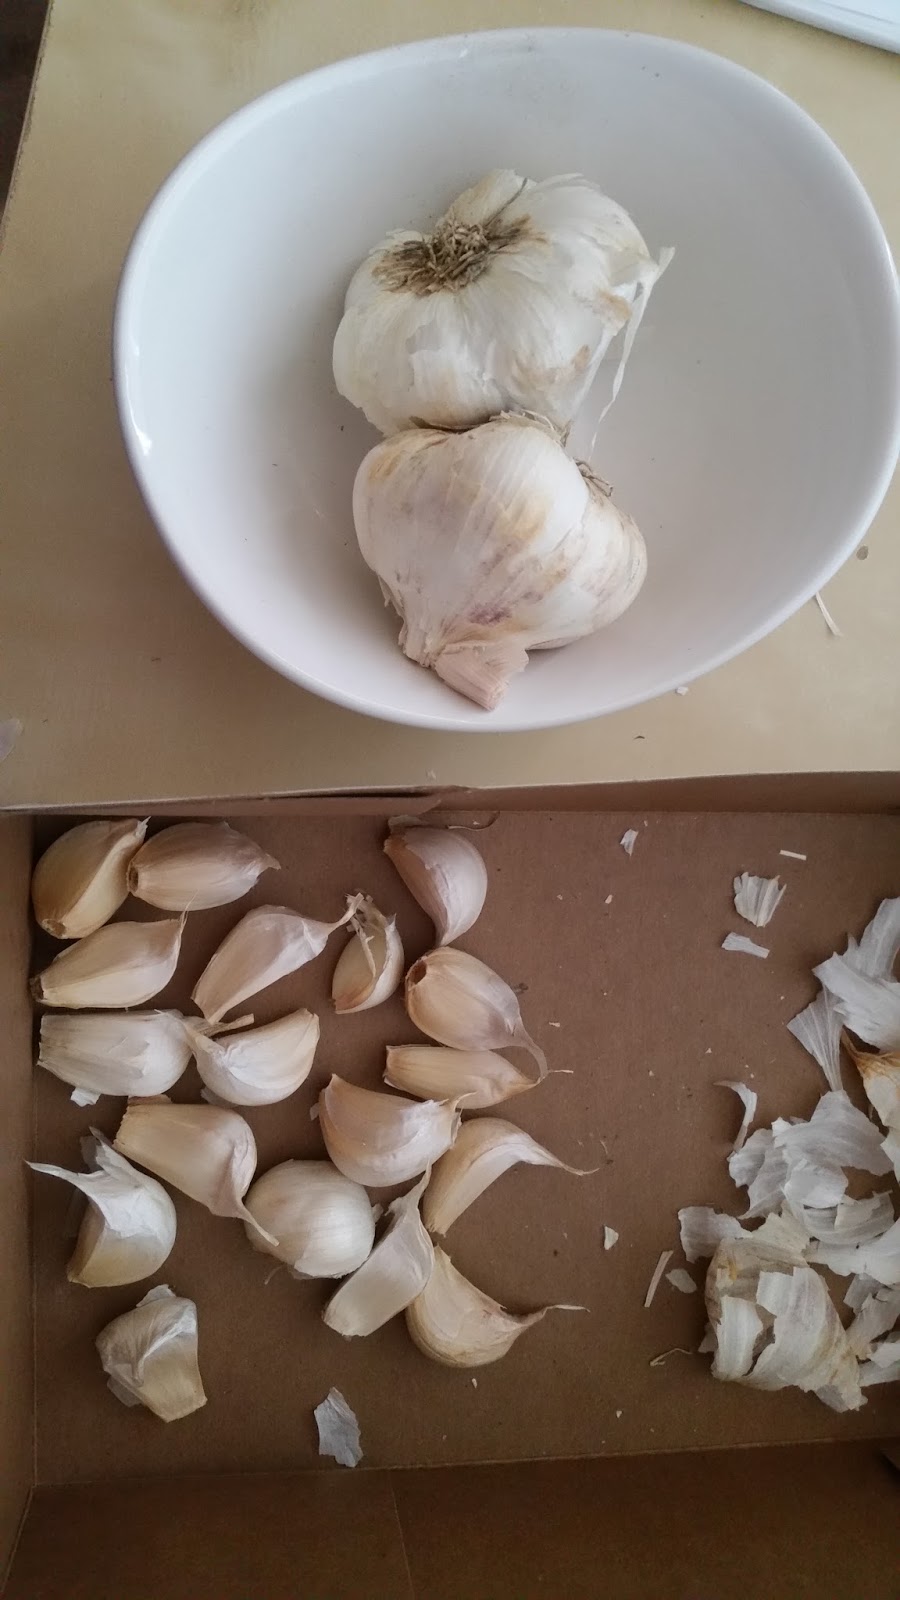 |
| Break apart cloves from bulb a few days before planting, but keep the papery husk on each individual clove |
OPTIONAL:
Break a garlic bulb apart into individual cloves, being careful to keep the papery skins covering each clove intact. Then fill a quart jar with water and mix in 1 tablespoon of liquid seaweed. Soak the cloves in this mixture for 2 hours prior to planting to prevent fungal disease and encourage vigorous growth.
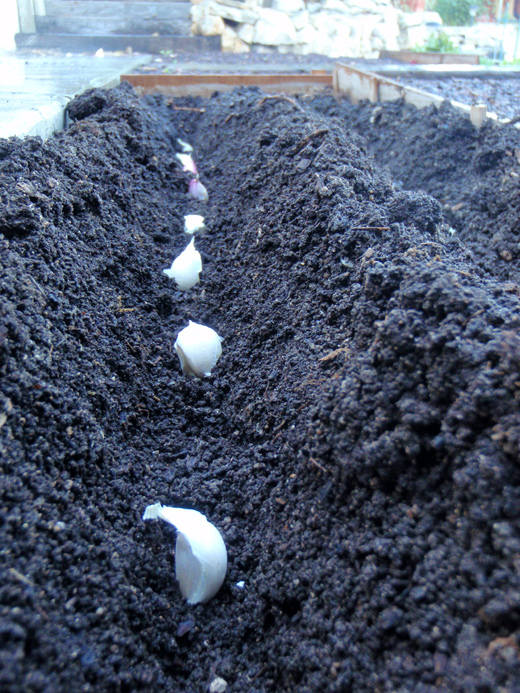 |
| Place cloves 4 inches apart and 2 inches deep, in their upright position (the wide root side facing down and pointed end facing up) |
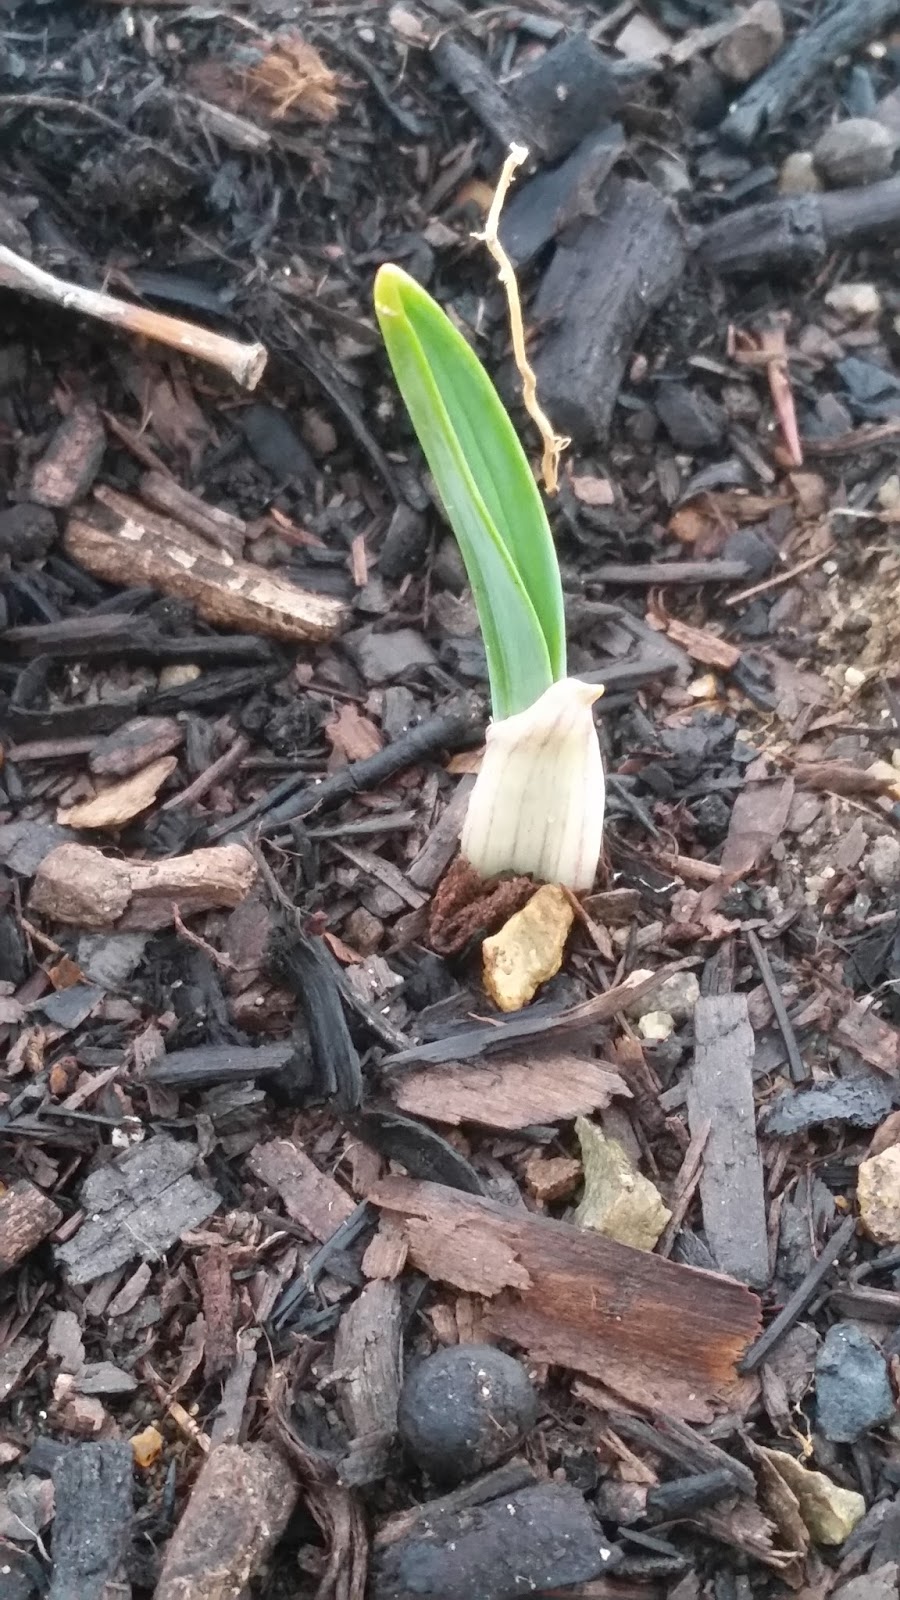 |
| In the spring, as warmer temperatures come, shoots will emerge through the ground |
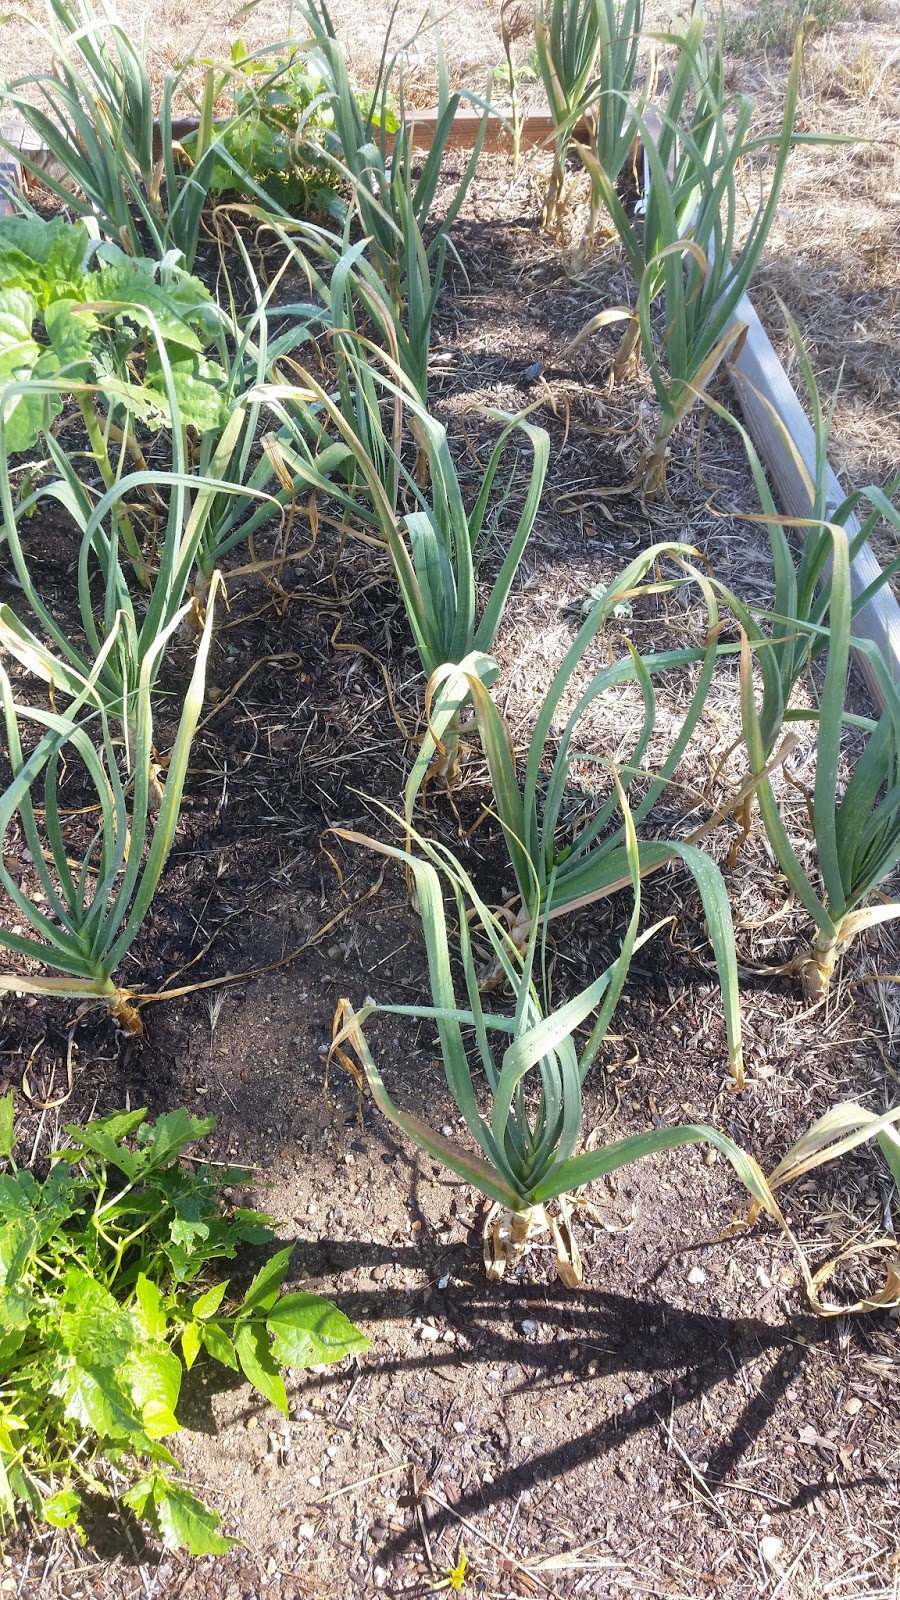 |
| Garlic is almost ready to harvest! |
 |
| Freshly harvested Organic Garlic! |
From Organic Gardening,
Planting Garlic: Step 1
Break a garlic bulb apart into individual cloves, being careful to keep the papery skins covering each clove intact. Then fill a quart jar with water and mix in 1 tablespoon of baking soda and 1 tablespoon of liquid seaweed. Soak the cloves in this mixture for 2 hours prior to planting to prevent fungal disease and encourage vigorous growth.
Planting Garlic: Step 2
In the meantime, prepare your bed for planting. Garlic grows best in rich, well-drained soil that is free of weeds. Dig a furrow about 3 inches deep. Place the presoaked cloves into the furrow, spacing them 6 to 8 inches apart. Be sure the flat root end is down and the pointy end is up.
Planting Garlic: Step 3
Cover the cloves with 2 inches of soil and side-dress the furrow with compost or scratch in granulated organic fertilizer. Water the bed in well and cover it with 6 to 8 inches of straw mulch. You should see shoots poking through the mulch in 4 to 6 weeks. The garlic stops growing in the winter months and resumes in spring.
THAT my friends is how it's done! Are you ready to plant organic garlic?

Sign up for our E-Newsletter
9 comments
I live in an apartment, is it possible to grow garlic in planters? My balcony gets faces the sun but I also have an indoor grow light setup.
I would like to start planting organic seed garlic. Please advise on the best one to consider for the Central Florida area. Thanks in advance for your help.
V/r,
Brenda
I live in zone 10 in Florida and LOVE garlic! Is there a certain kind for me? When would I plant!
Thanks!!!
Linda
Don’t forget planting is only half the process four or five dead leaves ready to harvest and needs to be cured a cool dry place out of the sun with good ventilation you probably know more on this
I have never tried to grow garlic before? This looks very intriguing! We LOVE garlic and use a lot of it! This would be a great addition to our gardening experience. (We are newbies)
Thank you so much for posting this. I had just commented on another Garlic post of yours and had some questions. They were answered here. :) I saw this on the homestead bog hop I just joined. :)
We actually tried this this yea, in my grandfather’s garden (we don’t have one), but the bulbs turned out really small and I didn’t know why. Now I understand that we should have planted in the fall instead. Thank you for sharing this at The Really Crafty Link Party this week!
This is a wonderful companion to your post on avoiding toxic garlic! I am so delighted that you shared how to plant organic garlic at the Healthy Happy Green Natural Party! I’m Pinning and sharing this!
Thank you for this! I have been wanting to grow garlic but was a bit unsure, you answered all of my questions. :)