PLANT A FALL GARDEN & SAVE Posted on 14 Sep 11:21 , 0 comments
Depending on where you live, many of you are planting FALL Crops. This is a great way to extend your growing season and save money! If you have never planted a Fall garden but you would like to, this is a great opportunity. If you're on the fence about planting a Fall garden, this is definitely a must-read!
Let's get started!
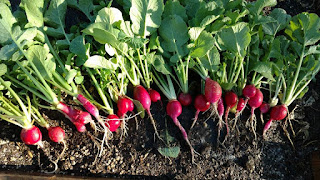
RADISH everywhere!!! Yes, I'm that excited about Growing Radish. From Seed to Harvest, many Radish varieties are ready to harvest in 23-35 days. Longer & larger varieties such as the Japanese Minowase Radish can take up to 70 days.
From our tutorial Growing Radish from Seed to Harvest,
"Sow radishes in the garden 2 to 3 weeks before average date of the last frost in spring. Sow succession crops every 2 weeks in spring and in autumn. Two or more crops can be grown in spring. Radishes require 22 to 70 days to come to harvest. Warm weather can result in small roots. Long days may also cause radishes to flower; plant radishes during the shorter days of spring and autumn. In mild winter regions, grow radishes in late autumn and early winter. Radishes can withstand frost.


Sign up for our E-Newsletter
Let's get started!
RADISH everywhere!!! Yes, I'm that excited about Growing Radish. From Seed to Harvest, many Radish varieties are ready to harvest in 23-35 days. Longer & larger varieties such as the Japanese Minowase Radish can take up to 70 days.
From our tutorial Growing Radish from Seed to Harvest,
"Sow radishes in the garden 2 to 3 weeks before average date of the last frost in spring. Sow succession crops every 2 weeks in spring and in autumn. Two or more crops can be grown in spring. Radishes require 22 to 70 days to come to harvest. Warm weather can result in small roots. Long days may also cause radishes to flower; plant radishes during the shorter days of spring and autumn. In mild winter regions, grow radishes in late autumn and early winter. Radishes can withstand frost.
Keep radish
planting beds moist but not too wet. Even, regular watering will result
in quick growth. Radishes that receive too little water will become
woody tasting. Prepare planting beds with aged compost. Side dress
radishes with aged compost at midseason."
Cost Breakdown:
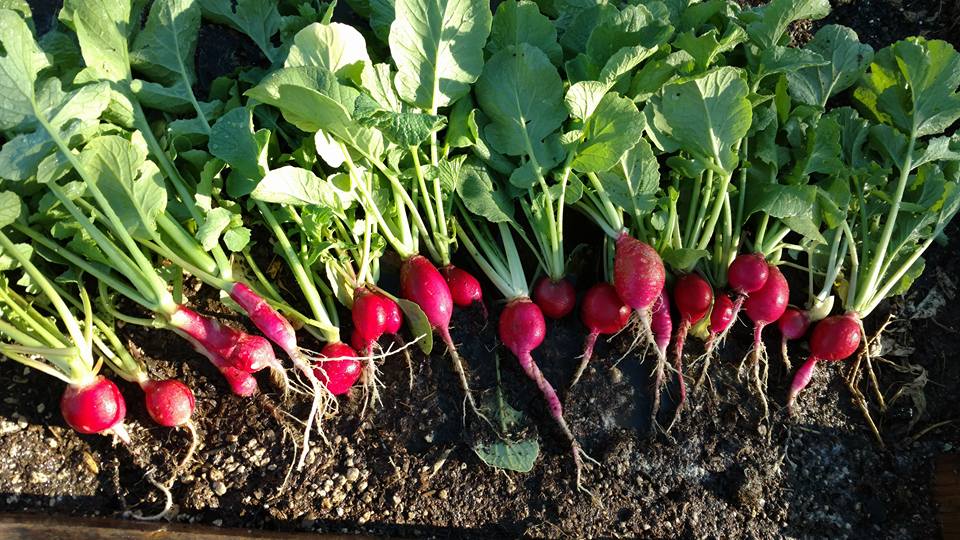
1 pack of Purple Plum Radish = $2.00 for 100 seeds
1 "bunch" of organic Radish from the store = $1.49 for 6 radishes
**That means you'll spend almost $25 for 100 radishes!!!
Don't like raw Radish? Try Pickled Radish! I just posted the recipe to our blog.
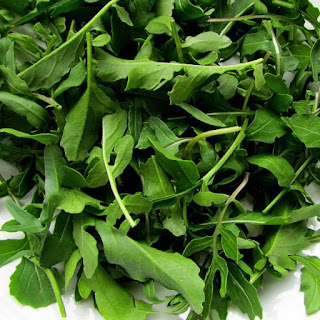
ARUGULA is another great Fall Crop. From seed to harvest, Arugula is ready to start eating in as few as 40 days. You can harvest the entire bunch or just a few leaves at a time.

From our article Growing Organic Greens from Seed to Harvest,
"Plant seeds 1/4 inch deep in moist
soil. It
is best to sow lettuce or spinach seeds thinly in rows spaced about 1
ft. apart or simply scatter the seeds in blocks. Cover lightly with
soil, firm in place and water well. Keep the soil moist until
germination. Once the plants have a grown their true leaves, you can
begin to thin the plants to about 6" apart."
Cost Breakdown:
From our article In Times of Uncertainty, Grow & Save
At Mary's Heirloom Seeds, a packet of Arugula seeds is $3.00 and
contains 200 seeds. Even if only 90% of those seeds germinate (almost 100% of
mine grow!), that still leaves 180 plants!
For this comparison, we're going to share a very economical option for growing greens (especially if you don't have a yard or much room to grow)
Grow Your own:
Sterilite 18 gallon bin: $9
Organic Potting Soil: $9 a bag
Arugula Seeds: $3
Total: $21 for 180 Arugula Plants (much more than a bunch)
Purchased at my local store, organic Arugula is about $1.99 per bunch. Let's compare:
180 homegrown bunches of Arugula $21
180 store bought bunches of Arugula $358.20
If you save your seeds...The savings are incalculable!
BEETS are another easy Fall crop. From seed to harvest, beets reach maturity at approx 55 days! **Leave them to grow longer for larger beets** BEETS are a "double-duty" crop for us. When we harvest beets, the greens are used raw in salad or sauteed with garlic and onions (just like spinach). The actual beet has many uses! We roast them with garlic & olive oil, shredded over salad and even pickled!
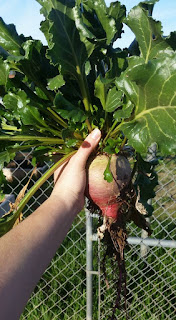

From our article Growing Organic Beets From Seed to Harvest,
"Beets
are fairly frost hardy and can be planted in the garden 30 days before the
frost-free date for your area. Although beets grow well during warm weather,
the seedlings are established more easily under cool, moist conditions. Start
successive plantings at 3 to 4 week intervals until midsummer for a continuous
supply of fresh, tender, young beets. Irrigation assures germination and
establishment of the later plantings."

Cost Breakdown:
1 pack of Beets (on average) = $3 for
100 seeds
1 bunch of Organic Beets at my local store is $1.99 for 3 beets
**That's over $65 for 100 beets and that doesn't even
include the greens!
I could go on and on but I think you get the picture. Growing your own organic food is fun, rewarding and it can save you a lot of money. Bonus, you know exactly how your food is grown and it didn't have to be transported in from thousands of miles away.
**I didn't mention soil and water for most of these. Soil can be used again if you replenish nutrients and water can be recycled from rain and other household activities.**
**I didn't mention soil and water for most of these. Soil can be used again if you replenish nutrients and water can be recycled from rain and other household activities.**
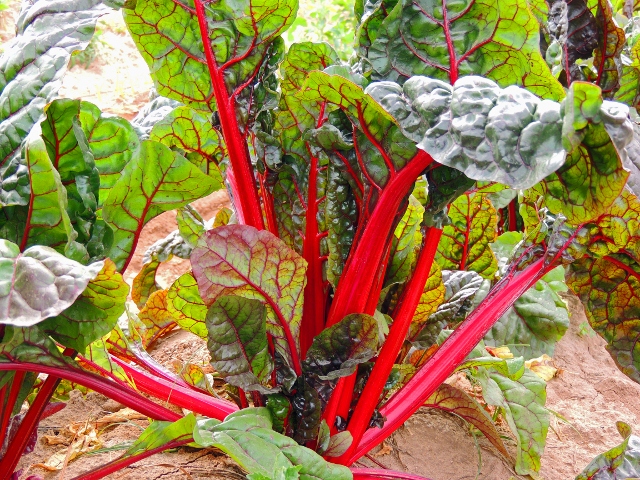 |
| RUBY RED SWISS CHARD |
What are some other Fall or Cool Weather crops?
Helpful Links
Sign up for our E-Newsletter